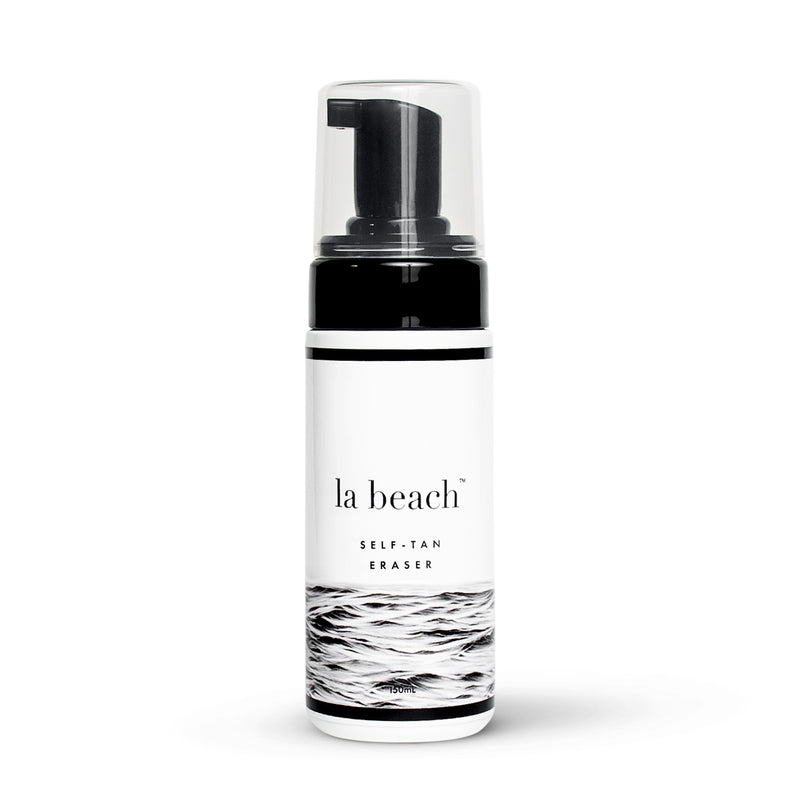
Self-tanning products have become increasingly popular for achieving a sun-kissed glow without the harmful effects of UV exposure. However, even the most meticulous tanners can encounter mishaps or desire a fresh start. This is where self-tan erasers come to the rescue. These innovative products are designed to effectively remove unwanted self-tanner, correct mistakes, and prep the skin for a new application. In this comprehensive guide, we will explore the benefits of self-tan erasers, how they work, tips for using them effectively, and DIY alternatives for those seeking a natural approach to tan removal.
The Power of Self-Tan Erasers
Self-tan erasers offer a convenient solution for individuals looking to correct self-tanning errors or remove residual color before starting afresh. These products typically contain specialized ingredients that help break down the pigments in self-tanner, allowing for easy removal without harsh scrubbing or skin irritation. Whether you’re dealing with streaks, uneven color, or simply want to start over, a self-tan eraser can be a game-changer in your tanning routine.
How Self-Tan Erasers Work
Self-tan erasers work through a combination of exfoliation and chemical reactions to break down and lift away the pigments present in self-tanner. Most self-tan erasers contain ingredients such as glycolic acid, lactic acid, or fruit enzymes that help dissolve the tan pigment from the skin’s surface. Additionally, physical exfoliants like microbeads or gentle scrubbing agents aid in sloughing off the loosened pigment, revealing smoother, more even-toned skin underneath.
Tips for Using Self-Tan Erasers Effectively
To make the most of your self-tan eraser and achieve optimal results, follow these expert tips:
Patch Test: Before applying the self-tan eraser all over your body, perform a patch test on a small area to check for any adverse reactions or sensitivity.
Prep Your Skin: Prior to using the self-tan eraser, exfoliate your skin gently to remove dead cells and ensure an even application of the product.
Follow Instructions: Read and follow the manufacturer’s instructions carefully to ensure safe and effective use of the self-tan eraser.
Allow Time for Removal: Give the self-tan eraser sufficient time to work its magic before rinsing off. This may vary depending on the product, so refer to the directions for guidance.
Moisturize: After using the eraser, moisturize your skin to restore hydration and prevent dryness.
DIY Alternatives to Self-Tan Erasers
If you prefer a natural approach to removing self-tanner, several DIY methods can help fade unwanted color gradually. Here are some homemade remedies you can try:
Lemon Juice and Baking Soda: Create a paste using lemon juice and baking soda, then gently scrub it onto the skin to help lighten self-tanner stains.
Exfoliating Scrub: Mix sugar or salt with a hydrating oil like coconut or olive oil to create a DIY exfoliating scrub that can help buff away self-tanner residue.
White Vinegar Soak: Soak in a bath with white vinegar added to the water to help fade self-tanner over time.
Tan-Removing Ingredients: Look for natural ingredients like lemon, yogurt, or papaya, known for their skin-brightening and exfoliating properties, to help fade self-tanner naturally.
Incorporating a self-tan eraser into your beauty routine can provide a quick and effective solution for addressing self-tanning mishaps or preparing your skin for a fresh application. By understanding how self-tan erasers work, following best practices for use, and exploring DIY alternatives, you can achieve a flawless and natural-looking tan with ease.

