Introduction to Homemade Skin Care
Homemade skin care is gaining momentum. It allows for complete control over what goes on your skin. In a world of complex beauty regimens, simple DIY skin care solutions offer transparency and peace of mind. You choose natural ingredients with known benefits, keeping away harsh chemicals.
Creating your own skin care products can be cost-effective too. It often involves using household staples or easily sourced natural elements. Plus, customizing your own formulas means tailored care for your specific skin needs. Whether sensitive, oily, dry, or combination, you can mix and match ingredients accordingly.
The beauty in homemade skin care lies in its simplicity and effectiveness. But it is not without challenges. Knowing the right ingredients and techniques is key. In this blog, we will go through essential ingredients, step-by-step guides, and specific recipes. These will help you to craft your own skin care products with confidence. Let’s dive into the world of DIY beauty, where simplicity and natural care are at the heart of every product you create.
Essential Ingredients for DIY Skin Care
When diving into homemade skin care, begin by stocking up on key ingredients. These essentials act as the foundation for various skin care products. Here’s what you should have in your DIY pantry:
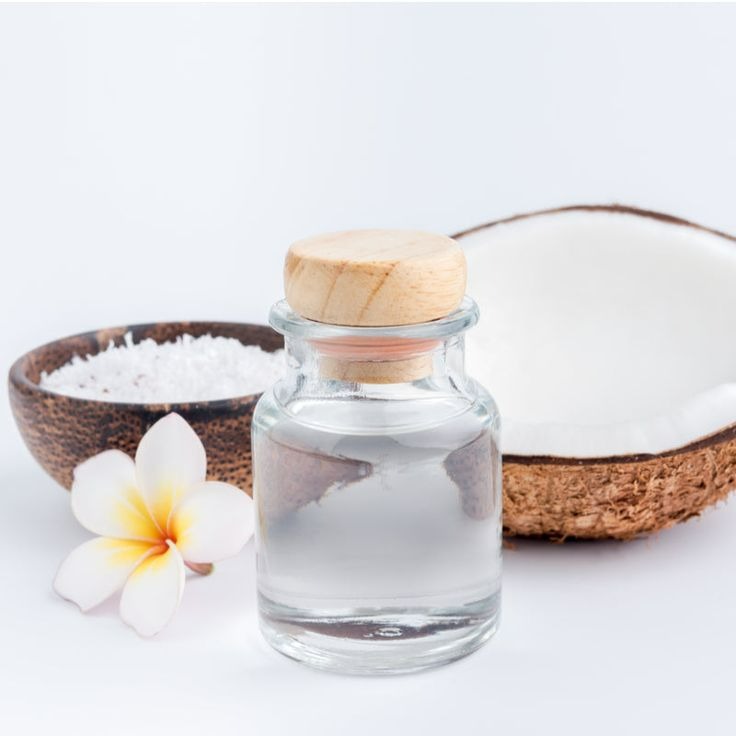
- Carrier Oils: Coconut, jojoba, and sweet almond oil are great starters. These oils nourish and hydrate the skin.
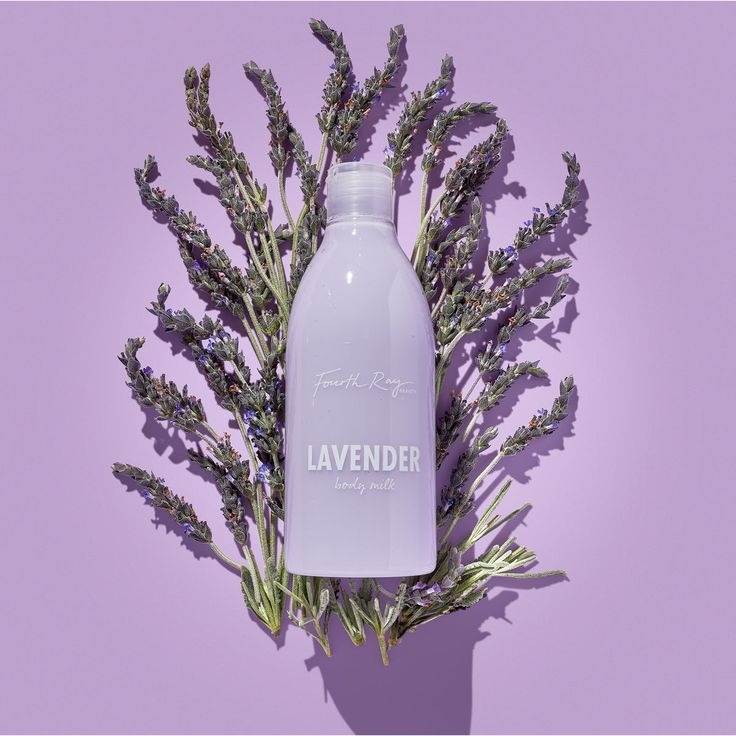
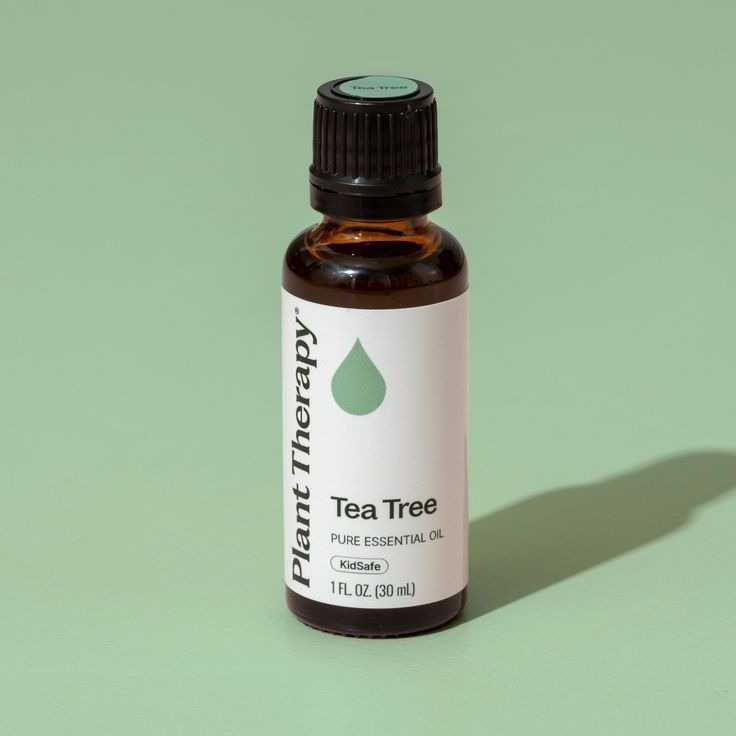
- Essential Oils: Lavender for calming, tea tree for its antiseptic properties, and rosehip for anti-aging. Remember to use them sparingly.
- Natural Butters: Shea and cocoa butter offer deep moisturization and are perfect for body butters and lip balms.
- Clays and Powders: Bentonite clay for purifying masks, and oatmeal powder for soothing scrubs.
- Aloe Vera: A soothing agent, ideal for burns and hydrating formulas.
- Raw Honey: It’s antibacterial, making it great for acne treatment and gentle exfoliation.
- Beeswax: Used as a thickener in balms and creams.
Selecting the right ingredients is crucial. Opt for organic and pure forms when possible. This will ensure your skin care blends are free of unwanted chemicals. The quality of your ingredients impacts the effectiveness of your homemade skin care products.
A simple rule to follow is less is more. Start with basic ingredients and as you get more comfortable, you can experiment with adding more to your repertoire. Remember, each skin type is different. Do a patch test with new ingredients to avoid any adverse reactions. Homemade skin care is all about personalization and finding what works best for your skin’s unique needs.
Step-by-Step Guide to Creating Your Own Skin Care Products
Creating homemade skin care products is easier than you think. Follow this simple guide to start making your own natural skin care solutions. First, gather all your essential ingredients. As mentioned, get oils, butters, clays, aloe vera, honey, and beeswax ready.
Next, choose the product you want to make. Decide if it’s a cleanser, toner, moisturizer, scrub, or mask. This choice will guide the ingredients you’ll use. For instance, for a cleanser, you might use oils and honey. For a scrub, clays and powders could be your go-to.
Clean your work area next. Make sure surfaces and tools are sanitized. This keeps your skin care mixtures safe and free from contaminants. Use pots and utensils that are not for food to avoid cross-contamination.
Now, measure your ingredients. Keep proportions accurate for consistency. For example, if you’re mixing a moisturizer, you might start with a one-to-one ratio of butter to oil.
Heat your ingredients gently if needed. Some like beeswax and butters may need melting. A double boiler works well for this. Keep temperatures low to preserve the nutrients in natural ingredients.
Mix your components thoroughly. Use a whisk for even blending. Some ingredients like essential oils should be added last, as they’re volatile.
Test your product on a small skin patch. Wait for 24 hours to see if there’s any reaction. This is key for safety, especially for those with sensitive skin.
Lastly, store your homemade skin care properly. Use clean, airtight containers to prolong shelf life. Keep them in a cool, dry place, away from direct sunlight.
Natural Recipes for Cleansers and Toners
Creating your own cleansers and toners is both rewarding and practical. Here are some natural recipes that you can easily whip up with ingredients from your DIY pantry.
Simple Oil Cleanser:
- Start with a base of coconut or jojoba oil.
- Add a few drops of lavender essential oil for relaxation.
- Mix well and apply with a soft cloth to remove makeup and dirt.
Honey Face Wash:
- Combine raw honey with a bit of warm water for consistency.
- Massage onto the face, then rinse for a soothing cleanse.
Green Tea Toner:
- Brew a strong cup of green tea and let it cool.
- Use a cotton ball to apply the tea to your face after cleansing.
- It’s rich in antioxidants and helps reduce redness.
Apple Cider Vinegar Toner:
- Dilute apple cider vinegar with water (1 part vinegar to 3 parts water).
- Apply with a cotton ball after cleansing to balance skin pH levels.
When you make homemade skin care, test each product on a patch of skin first. If you see no reaction after a day, it’s likely safe to use. As you get used to making these, feel free to customize. You might add different essential oils or use different carrier oils to suit your needs. Experimentation is key in finding the perfect homemade skin care products for you.
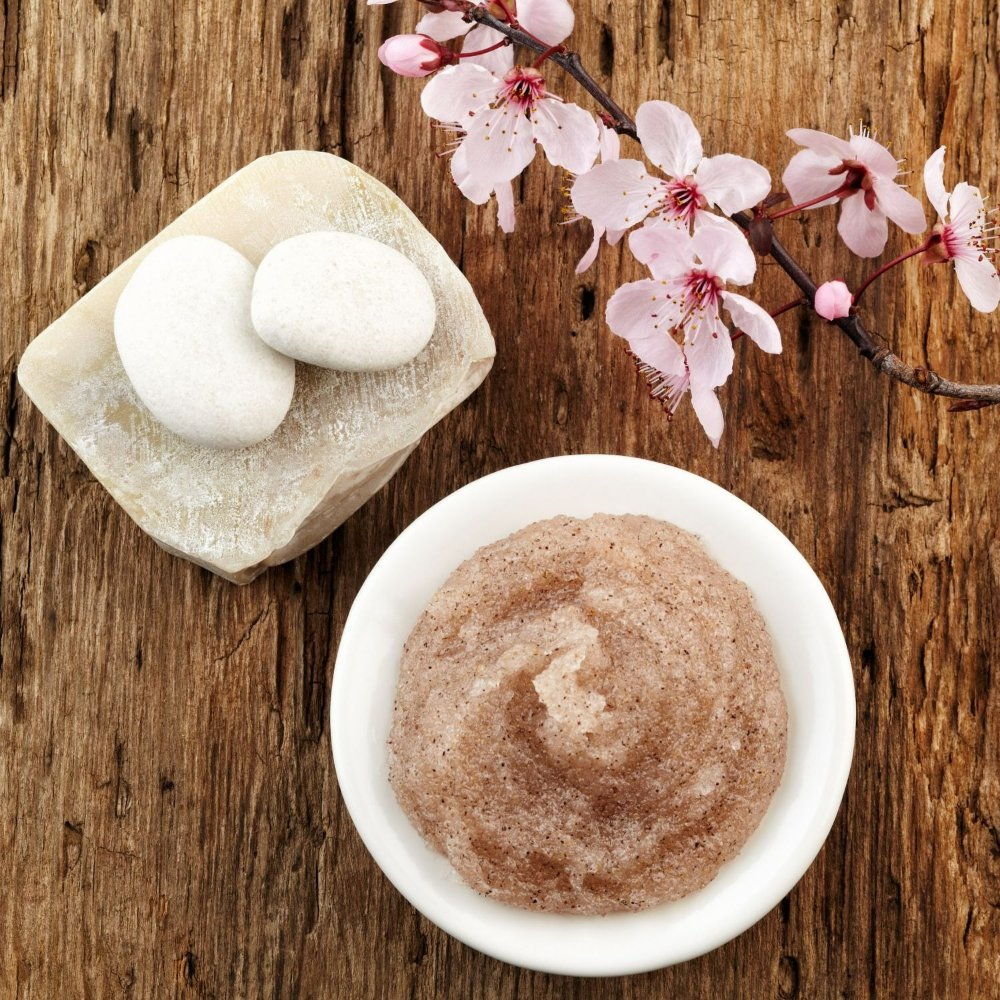
Homemade Solutions for Exfoliation
Exfoliation is vital for vibrant, healthy skin. Removing dead skin cells unclogs pores and smoothens texture. Homemade exfoliating scrubs can be both effective and gentle. Here, we will explore recipes that cater to various skin types, using ingredients from your pantry.
Oatmeal Honey Scrub:
- Mix oatmeal powder with honey.
- Apply in circular motions to exfoliate, then rinse off.
- It’s great for sensitive skin.
Coffee Sugar Scrub:
- Combine ground coffee with granulated sugar.
- Massage on the skin, then rinse.
- Caffeine firms skin; sugar smooths it.
Sea Salt Scrub:
- Use fine sea salt with coconut oil.
- Gently rub on the skin and wash away.
- Sea salt detoxifies while oil moisturizes.
Always do a patch test first to prevent irritation. Remember, exfoliating once or twice a week is enough. Over-exfoliation can harm your skin barrier. For best results, follow with a homemade moisturizer. Happy exfoliating!
Mixing Up Your Own Moisturizers
Creating your own moisturizers is user-friendly and satisfying. Here’s how to concoct a basic homemade moisturizer.
Shea Butter Moisturizer:
- Start with shea butter as a rich, creamy base.
- Add coconut oil for its hydrating properties.
- Stir in a few drops of jojoba oil for balance.
- Whisk them together until smooth and store in a jar.
This combination works wonders for dry skin. Shea butter provides deep hydration, while the oils restore skin’s natural glow. Remember, a little goes a long way.
Aloe Vera Gel Moisturizer:
- Use aloe vera gel for a light, refreshing feel.
- Mix in vitamin E oil to protect skin.
- Add a drop of lavender essential oil for calmness.
- Blend and keep in a clean container.
This moisturizer is perfect after sun exposure or for oily skin types. Aloe vera soothes the skin, while vitamin E aids in healing.
Always conduct a patch test to check for reactions. Apply your homemade cream daily for best results. Play with different oils and butters to find your ideal mixture. Enjoy making and using your own homemade skin care moisturizers.
Treatments and Masks for Specific Skin Concerns
When it comes to addressing particular skin issues, homemade treatments and masks are highly effective. They allow you to tackle concerns like acne, wrinkles, or dullness with precision. Below are some treatments and masks designed for various skin concerns using ingredients from your DIY skin care pantry.
Acne Spot Treatment:
- Mix tea tree oil with aloe vera gel.
- Apply to blemishes as a spot treatment to reduce inflammation.
- Tea tree’s antiseptic properties help clear acne.
Anti-Aging Mask:
- Combine one tablespoon of natural cocoa powder with a teaspoon of raw honey.
- Apply to the face for its antioxidant benefits and to promote collagen production.
- Leave on for 20 minutes, then rinse.
Brightening Mask:
- Mash up a ripe banana with a teaspoon of lemon juice.
- Apply to the face to brighten and reduce the appearance of dark spots.
- Rinse off after 15-20 minutes.
Soothing Mask for Redness:
- Mix oatmeal powder with yogurt for a calming effect.
- Apply on the skin to soothe and reduce redness.
- Rinse after 15 minutes with cool water.
Remember, doing a skin patch test before using these remedies is crucial. This will help you avoid any unwanted reactions. Use these treatments and masks regularly, possibly once or twice a week, to see improvements. Homemade skin care is about consistent, personalized care to bring out the best in your skin.
Tips for Storing and Preserving DIY Skin Care Products
When you make your own homemade skin care items, storing them correctly is vital. This helps to maintain their potency and extend their shelf life. Here are some straightforward tips for preserving your DIY skin care creations.
- Use Airtight Containers: Keep your products in containers that prevent air from getting in. Air can cause natural ingredients to oxidize and spoil.
- Keep It Cool: Store your products in a cool, dark place. Heat can degrade the active components in your skin care. The fridge is an excellent option for perishable items.
- Dark Glass Bottles: If you’re using essential oils, dark glass bottles help protect them from sunlight. UV rays can break down the oils and reduce their effectiveness.
- Label Everything: Make sure you label your containers with the product name and the date it was made. Keeping track helps you remember when it’s time to make a fresh batch.
- Small Batches: Make skin care items in small amounts. This ensures that you use them up before they have a chance to degrade.
- Sanitize: Before filling, always sanitize your containers. Clean them with hot, soapy water and allow them to dry completely.
- Avoid Fingers: Use a spoon or spatula to scoop out your products. This reduces the risk of introducing bacteria from your hands.
By following these simple storage tips, you can enjoy your homemade skin care items for longer. It also ensures that each time you use them, they’re as effective as possible. Keep an eye on any changes in color, smell, or texture, as these can indicate spoilage. Enjoy the benefits of your DIY efforts with these easy-to-follow storage practices.