Introduction
Enhancing one’s natural beauty has become an art form, and false eyelashes are a quintessential tool in the makeup arsenal. While strip lashes offer convenience, individual false eyelashes provide a customizable, natural-looking flutter. Mastering the application of individual lashes requires patience, precision, and practice. In this comprehensive guide, we’ll delve into the step-by-step process of applying individual false eyelashes flawlessly.
Understanding Individual False Eyelashes
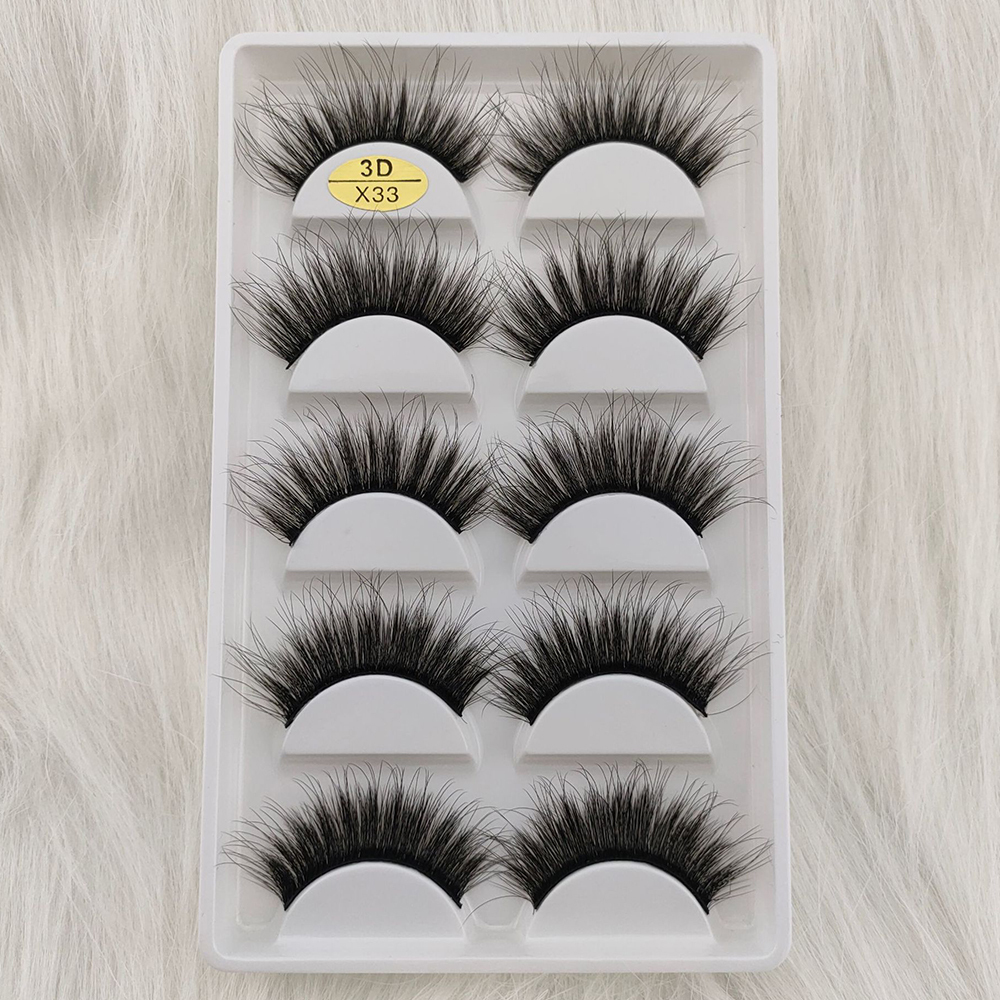
Individual false eyelashes offer a customizable approach to enhancing one’s natural lashes. Unlike strip lashes, which cover the entire lash line, individual lashes are applied directly onto the natural lashes, creating a seamless blend and a more natural appearance. Available in various lengths, thicknesses, and materials, individual lashes cater to different preferences and eye shapes, allowing for a personalized look. Understanding the nuances of individual false eyelashes is essential for achieving a flawless application and desired aesthetic outcome.
Preparation and Tools
Preparing your workspace and gathering the necessary tools is crucial for a smooth application process. From tweezers to adhesive, each tool plays a vital role in achieving perfect lashes. Additionally, ensuring that your natural lashes are clean and free from any residue will facilitate better adhesion and longevity of the false lashes.
Selecting the Right Lashes
Choosing the appropriate individual false lashes is pivotal for achieving your desired look. Factors such as length, curl, and density should be considered based on your eye shape, makeup style, and occasion. Whether you’re aiming for a subtle enhancement or dramatic flair, selecting lashes that complement your natural features is key.
Prepping the Lashes
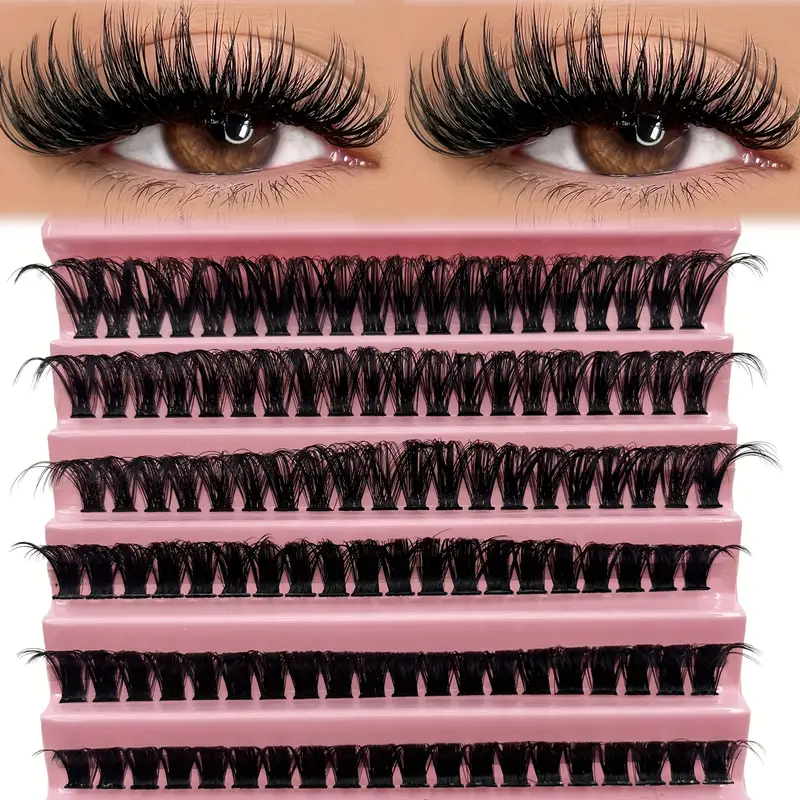
Preparing the individual lashes before application is essential for seamless integration with your natural lashes. This step involves carefully removing the lashes from their packaging, trimming them to fit your eye shape if necessary, and gently bending them to mimic the curve of your lash line. Proper prepping ensures that the lashes are ready for seamless application and optimal comfort.
Applying Adhesive
The adhesive serves as the bond between your natural lashes and the false ones, so selecting a high-quality, long-lasting adhesive is imperative. Applying a small amount of adhesive onto a clean surface and allowing it to become tacky before application ensures better adhesion and reduces the risk of lashes slipping or falling off prematurely.
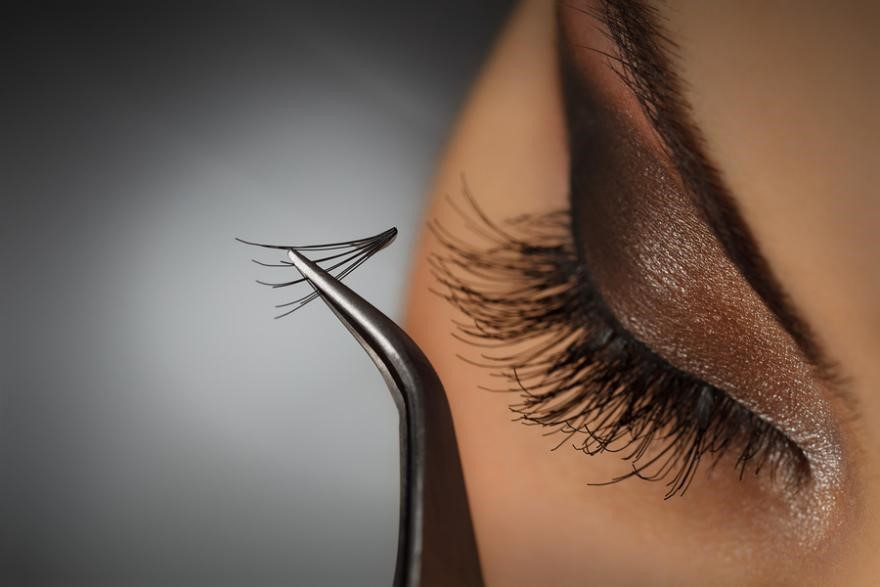
Placement Technique
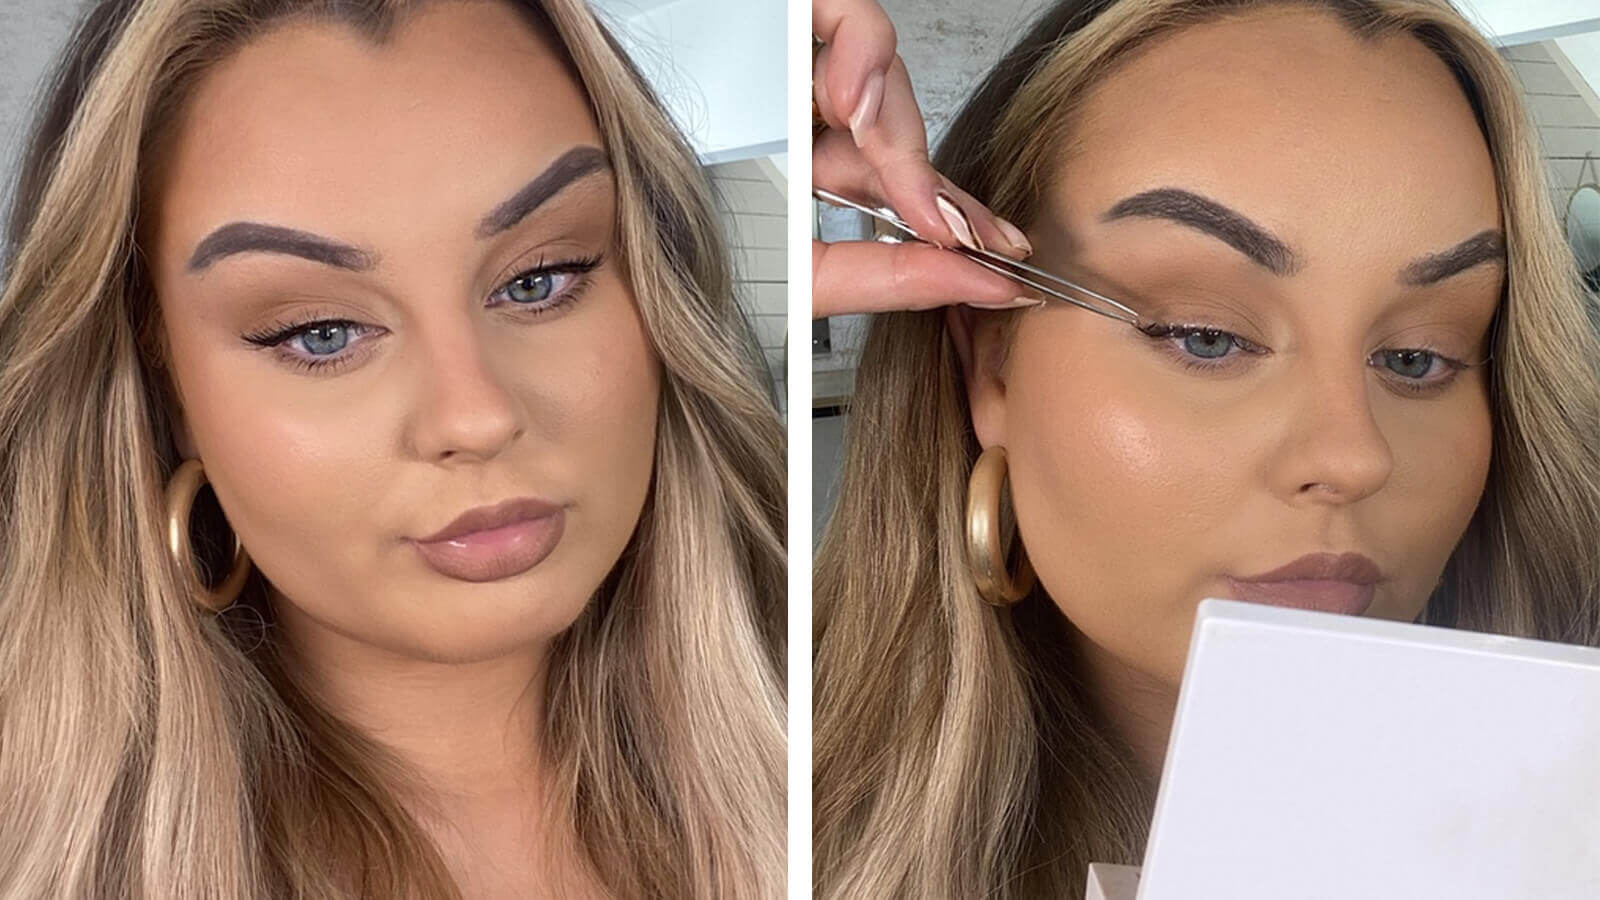
Mastering the technique of individual lash placement is the cornerstone of achieving a flawless look. Using precision tweezers, gently grasp the individual lash at its base and dip the end into the adhesive. Carefully place the lash onto the root of your natural lash, ensuring it sits flush and seamless with your lash line. Repeat this process, alternating between eyes, until you achieve your desired level of fullness and volume.
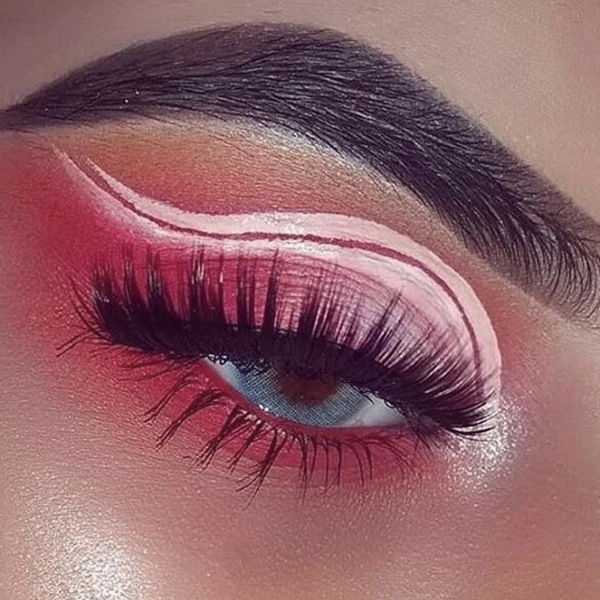
Blending and Finishing Touches of individual false eyelashes
Blending individual false eyelashes with your natural lashes and applying finishing touches are essential for achieving a seamless, polished look. Here’s a step-by-step guide:
Assess Placement:
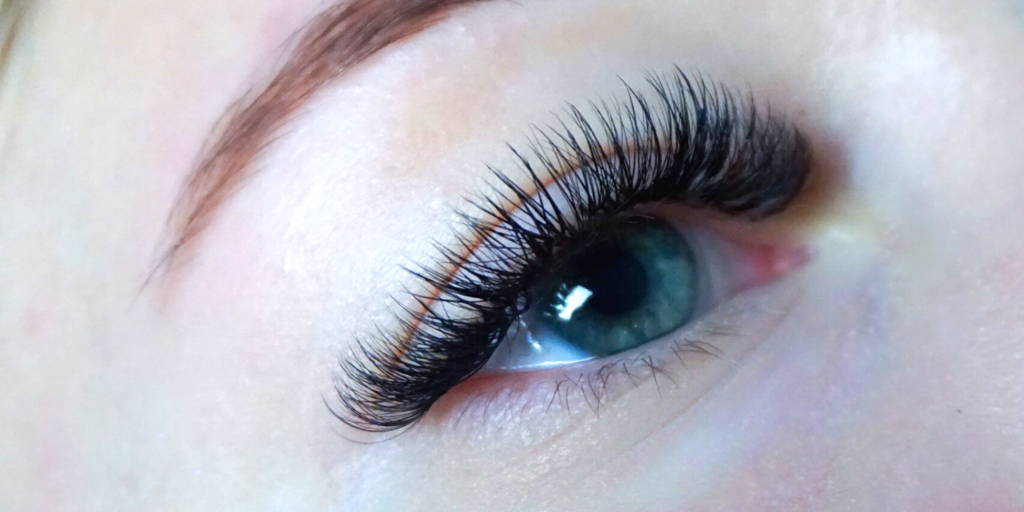
After applying all the individual false lashes, take a moment to assess their placement. Ensure they are evenly distributed across your lash line and sit seamlessly with your natural lashes.
Use a Spoolie or Lash Comb:
Gently comb through the lashes using a clean spoolie brush or a lash comb. This helps blend the false lashes with your natural lashes and removes any clumps or excess adhesive. Start from the base of your lashes and comb upwards to separate and define them.
Apply Mascara (Optional):
To further blend the individual false lashes with your natural lashes and add extra volume, you can apply a coat of mascara. Use a mascara formula that complements the style of your false lashes and apply it evenly from the base to the tips of your lashes.
Adjust as Needed:
If you notice any gaps or unevenness in the placement of the false lashes, use tweezers or your fingertips to adjust them gently. Ensure that all the lashes are aligned and sitting comfortably on your lash line.
Check for Comfort:
Once you’ve finished blending and applying mascara, ensure that the false lashes feel comfortable and secure. If any discomfort or irritation occurs, gently readjust the lashes or remove them if necessary.
Final Assessment:
Take a step back and examine your lashes from different angles and in various lighting conditions. Make any final adjustments as needed to achieve your desired look.
Complete Your Makeup Look:
Once you’re satisfied with the placement and blending of your false lashes, continue with the rest of your makeup routine to complete your look. Whether it’s eyeshadow, eyeliner, or other face makeup, ensure that it complements your false lashes and enhances your overall appearance.
By following these steps for blending and finishing touches, you can achieve a flawless and natural-looking result with your individual false eyelashes, elevating your makeup look to the next level.
Maintenance and Removal of individual false eyelashes
Proper maintenance and removal of individual false eyelashes are crucial for preserving both the falsies and your natural lashes. Here’s a step-by-step guide:
Maintenance:
- Avoid rubbing or pulling on the false lashes, as this can cause damage or premature shedding.
- Be cautious when cleansing your face, ensuring that you gently cleanse around the eye area without disturbing the lashes.
- If mascara is applied, use a gentle, oil-free makeup remover to clean the lashes, avoiding rubbing or tugging.
Removal:
- Begin by gently soaking a cotton pad or swab with an oil-free makeup remover or micellar water.
- Close your eye and hold the dampened cotton pad against the base of the false lashes for a few seconds to loosen the adhesive.
- Slowly and carefully peel off the false lashes, starting from the outer corner and working inward. Avoid tugging or pulling on your natural lashes.
- If you encounter resistance during removal, apply more makeup remover and allow it to sit for a few seconds before attempting to remove the lashes again.
- Once all the false lashes are removed, gently cleanse the eye area with a mild cleanser to remove any residual adhesive or makeup.
Additional Tips:
- If you have difficulty removing the false lashes, consider using a specific eyelash adhesive remover designed to dissolve the adhesive without damaging your natural lashes.
- Avoid sleeping in false lashes, as this can cause them to become misshapen or tangled and may lead to discomfort or irritation.
- Store your false lashes properly in their original packaging or a clean container to maintain their shape and cleanliness for future use.
- Allow your natural lashes to breathe between applications of false lashes to prevent any potential damage or weakening.
By following these steps and tips, you can safely and effectively remove individual false eyelashes without causing harm to your natural lashes or the falsies themselves.
Conclusion
Mastering the art of applying individual false eyelashes requires patience, precision, and practice. By following the step-by-step process outlined in this guide and honing your technique, you can achieve flawless, natural-looking lashes that enhance your beauty and elevate your makeup game. With the right tools, preparation, and technique, you’ll be well on your way to achieving the perfect flutter with individual false lashes.