The iPhone 14 comes equipped with an advanced camera system, offering users the opportunity to capture images of remarkable quality with the right settings. In this article, we’ll guide you through adjusting your iPhone 14’s camera settings to ensure the best possible photo quality.
Maximizing Image Quality with iPhone 14 Cameras
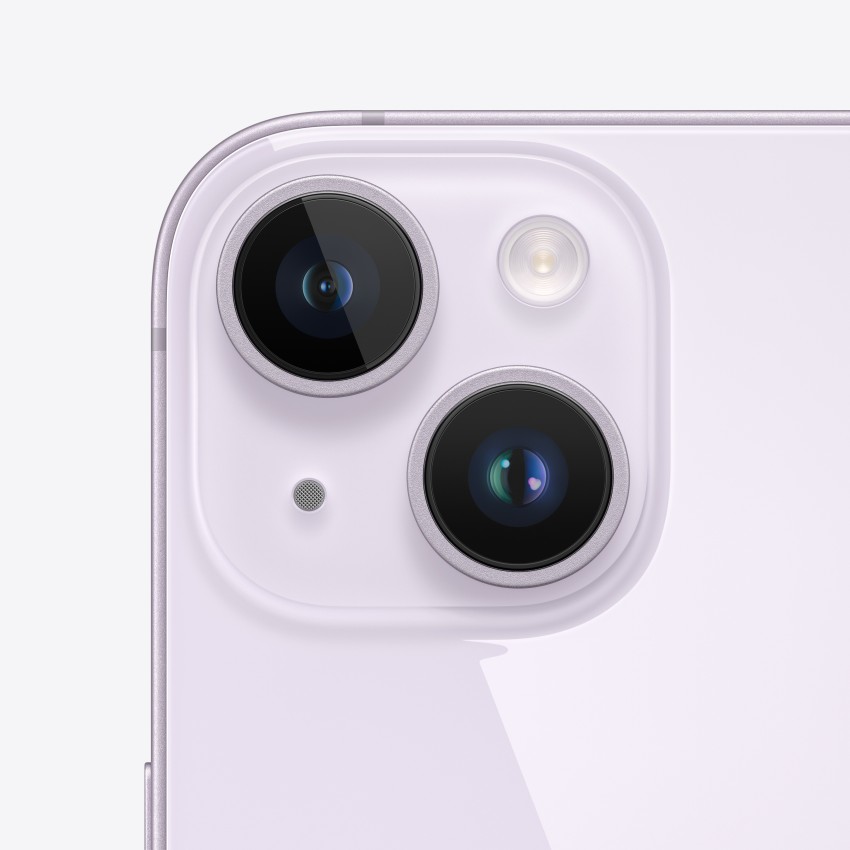
The iPhone 14 camera brings a host of improvements and features that allow users to capture images with stunning clarity and detail. To maximize the image quality of the iPhone 14, users must familiarize themselves with the camera settings and learn how to use them effectively. This section provides essential tips and insights into making the most of the iPhone 14’s camera capabilities.
Understanding Photographic Styles
Photographic Styles are a new feature introduced with the iPhone 13 and continued with the iPhone 14 series. These are smart, adjustable filters that work in real-time to enhance your photos without affecting skin tones. Users can choose from Vibrant, Rich Contrast, Warm, and Cool — each style applies a different aesthetic to photos right out of the camera. The styles can be further customized for Tone and Warmth, giving you a personalized look that can be set as a default for all your shots.
Leveraging the Power of Apple ProRAW
For those looking for professional-quality images that allow for extensive post-processing, Apple ProRAW is a game-changer. ProRAW combines the information of a standard RAW format with iPhone’s image processing capabilities. This means you have more data to work with when editing exposure, color, and white balance, which can be especially beneficial in challenging lighting conditions. To enable Apple ProRAW, go to Settings > Camera > Formats, and toggle on Apple ProRAW. Keep in mind that ProRAW files are larger and take up more storage space.
Utilizing Smart HDR and Deep Fusion
Smart HDR and Deep Fusion are iPhone’s advanced computational photography features that bring out more detail in your photos. Smart HDR 4 on the iPhone 14 is engineered to recognize up to four different people in a photo and optimize the contrast, lighting, and skin tones for each one. It’s particularly useful for high-contrast scenes, ensuring that details are preserved in both the shadows and highlights.
Deep Fusion, on the other hand, activates in mid to lower-light settings. It works by taking a series of images at different exposures and merges the best parts of them for improved texture, detail, and reduced noise. These features are automatically enabled on the iPhone 14, but ensuring that your iOS is updated will allow for any improvements to these algorithms to take effect.
Exploring Night Mode and Photonic Engine
Night Mode is an indispensable feature for low-light photography. On the iPhone 14, it activates automatically in dark environments, and you can adjust the exposure time to capture more light and detail. For even better results, iPhone 14 introduces the Photonic Engine, an enhanced image pipeline that delivers brighter, more true-to-life photos, especially in mid to low-light conditions.
Customizing Focus and Exposure
While the iPhone 14’s automatic settings can handle a wide range of situations, sometimes taking manual control can produce even better results. Tap the screen to set focus and adjust exposure using the slider next to the focus box. For shots where precise focus and exposure are needed, such as macro photography or high-contrast scenes, use the AE/AF Lock by tapping and holding on the screen until the lock indicator appears.
By understanding and utilizing the iPhone 14’s camera settings to their fullest potential, you can dramatically enhance the quality of your photos. Whether you’re a professional photographer or an enthusiast, the iPhone 14 offers a powerful suite of tools to help capture the world around you with remarkable clarity and detail.
Adjusting iPhone 14 Camera Settings for Different Environments
Capturing the perfect photo with your iPhone 14 involves more than just pointing and shooting; it requires adjusting the camera settings to suit the environment you’re in. Whether you’re under the bright sun at the beach or in the dim ambiance of a cozy cafe, the iPhone 14’s camera offers a plethora of settings that can help you achieve the best image quality. In this section, we discuss how to tweak these settings to adapt to various lighting situations and scenes.
Tackling Harsh Lighting with HDR
When you’re in an environment with high contrast or harsh lighting, such as a sunny day outdoors, the iPhone 14’s Smart HDR (High Dynamic Range) feature comes in handy. Smart HDR takes multiple photos at different exposures and blends them together to balance the highlights and shadows. This results in an image with more detail across the entire tonal range. On the iPhone 14, Smart HDR 4 uses machine learning to optimize the photo even further, adjusting for up to four different people in a group photo, ensuring everyone looks their best. You can ensure Smart HDR is activated by going to the camera settings and checking that the Smart HDR toggle is on.
Optimizing for Low-Light Conditions with Night Mode
Low-light environments present a unique challenge for photography, but the iPhone 14’s Night Mode is specifically designed to address this. When activated, Night Mode allows the camera to capture more light and reduce noise, resulting in clearer and brighter photos in dim settings. The iPhone 14 automatically detects when Night Mode is needed and suggests an exposure time, which you can adjust by tapping on the Night Mode icon and sliding the exposure dial left or right. For the best results, keep the iPhone as steady as possible during the shot, or use a tripod to eliminate shake and achieve a sharp image.
Fine-Tuning Focus and Exposure for Dramatic Effects
Sometimes, the automatic settings may not achieve the exact look you’re aiming for, especially in environments with unique lighting, like sunsets or neon-lit urban scenes. In such cases, adjusting the focus and exposure manually can give you more creative control. To adjust focus, simply tap on the part of the image you want to be sharp. To tweak exposure, use the slider next to the focus square to brighten or darken the image. If you want to lock the focus and exposure settings, press and hold on the screen until you see the AE/AF Lock banner appear at the top.
Capturing Movement with Action Mode
For fast-moving environments, such as sports events or bustling city streets, the iPhone 14’s Action Mode can be a game-changer. This setting helps to stabilize your video, giving it a smooth, cinematic quality even when there’s a lot of movement. To turn on Action Mode, open the Camera app, swipe to Video, and tap the Action Mode icon. Remember that using Action Mode will crop your video slightly, so frame your shot accordingly.
Each environment presents its own photographic challenges, but with the iPhone 14’s versatile camera settings, you can adapt to almost any situation. By understanding how to adjust your camera for different lighting and motion conditions, you can take full advantage of the iPhone 14’s capabilities and capture photos that stand out.
Conclusion
The iPhone 14’s camera system is designed to deliver high-quality images with ease. By understanding and adjusting the camera settings, you can enhance your photography experience and capture stunning images that take full advantage of the iPhone 14’s capabilities.